Rostering with CSV: Process summary
TypeTastic features district accounts where you can manage one or more schools. To keep the CSV files simple, we have split the upload process into four stages, and you need to prepare four CSV files to roster the account.
- First, prepare school accounts. If you only have a couple of schools, you can also do this manually by adding one school at a time, just remember that the school names need to match the ones that are used in the three other CSV files
- Second, upload the school administrator and teacher accounts for the schools
By uploading teachers first, you can match teachers to their classes in the third step, where you upload your classes - Third, upload classes that are matched with teachers (= primary teacher of the class)
- Finally, upload students to classes
Once all phases are completed your TypeTastic account is rostered with
- schools with school administrators and teachers
- classes with owners (teachers) in each school
- students enrolled to their classes
Preparing your CSV files
You can prepare your import lists on a spreadsheet but will need to convert them to CSV (comma separated) format before importing to TypeTastic. To do that in Excel, choose Save As…, give a name to your file, from the file type dropdown select “CSV (Comma delimited) (*.csv)” and click Save. If using Google Sheets, select “Download..” and then the option “Comma-separated values”
Make sure that your Excel or CSV file only has the columns required by TypeTastic before converting to CSV and delete any extra columns. Also, check if you have hidden columns and remove them.
If your CSV file has more than 10,000 rows, we recommend that you split it so that each uploaded file has the column name row and max 9999 data rows. This way the application can process the file faster especially when there are errors in the file.
NOTE!
The name of the CSV file can be anything, but it is easier if you name them so that they match content, for example, schools.csv, teachers.csv, classes.csv, and students.csv
Important when creating your CSV files and uploading
- TypeTastic will check the file before starting to upload and displays error notifications with line number references to your file so that you can correct errors and try again.
- make sure that your CSV files don’t contain duplicates where unique data is required, such as usernames or emails.
- include all column headers in your CSV file, even when the values are empty
- columns can be in any order, but the names need to be correct
- column headers are case insensitive
- delete any columns that are not listed in the specification tables. Also, check for any hidden columns and remove them.
- check there are no empty rows in your file
- if you get unique system id’s for users easily to the CSV files, we recommend to include those in the fields named ‘external_id’ as they are useful in case you later need to mass-update user data (see section “Updating user data with CSV upload” of this guide)
TIP!
You can download sample CSV files from here (zipped):
https://typetastic.com/pilot/sample-csv-files.zip
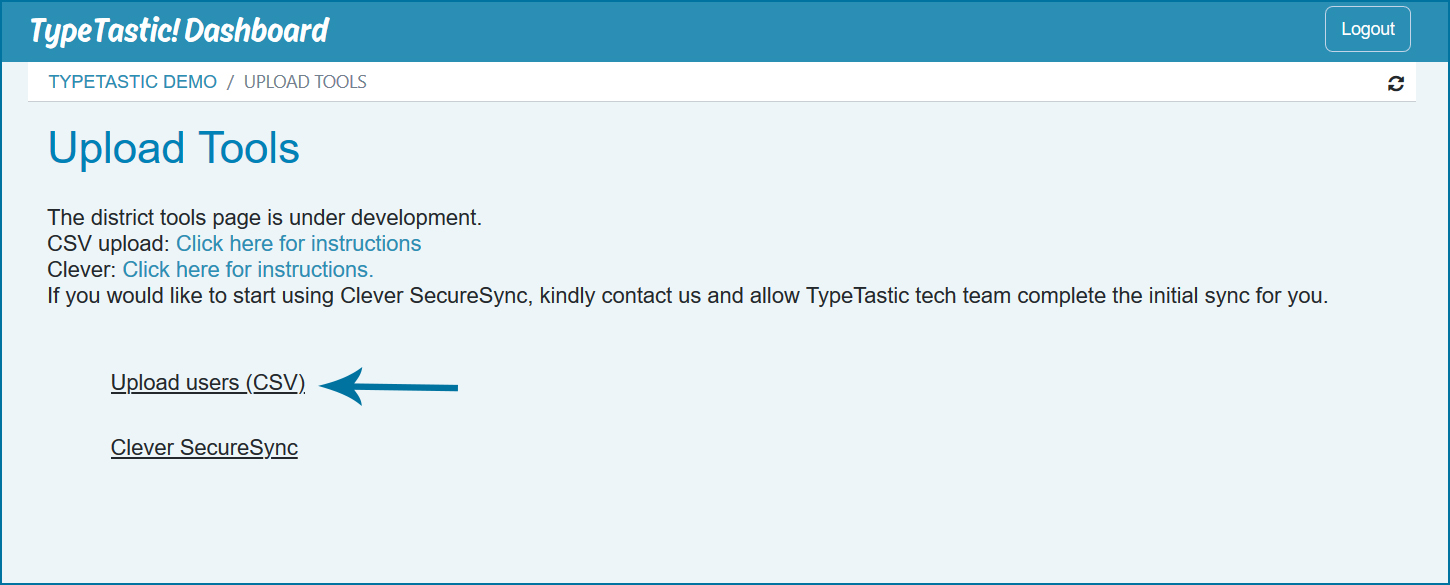
When your files are ready, open the upload form from district page button ‘Upload Tools’ and select link Upload Users (CSV).


Using Google or Office 365 Single Sign on?
TypeTastic can easily be set to use single sign on (SSO) with Google or Office 365. You will find the switches when you click on Edit Settings on the district home page.
Matching user accounts need to exist. Setting TypeTastic to use Google and/or O365 login requires that users are created in advance with their Google or O365 email address. This is easiest to do when you roster with CSV, but teachers can also add student emails manually when needed.
Hybrid login system. Native username/email and password login, Google and Office 365 can be enabled at the same time. This is what we call “hybrid login”.
For example, if you have imported users with their Google emails and enabled Google Sign In, users can either use Google credentials or the username and password that you have created for them. The native credentials provide a backup if the user for some reason has lost access to their Google account as teachers can view the native credentials.